I have always walked across these interesting looking pink stalks in the fresh produce section at the grocery, wondering how they taste and what could be cooked with them .. Well I finally picked up a few stalks of Rhubarb hoping to find a recipe to make them. But it was a week and I still had not and they had to go to the garbage bin. So last week when I had a lot of strawberries at home, I finally found something that I would want to try and make - Strawberry Rhubarb Pie.
I have never made a pie before and am not a huge fan of them. But I did want to try making this one, and see how it tastes. I used
Debs Recipe from Smitten Kitchen to make this pie. And it turned out great. Here's what you ll need to make this pie.
Pie Filling:
4-5 cups of strawberry ( cored and sliced) - rhubarb ( sliced into small cubes)
1/2 cup sugar
1/4 cup brown sugar
1 tbsp lime juice
1/4 cup quick cooking tapioca
1/4 tsp salt
2 tbsp butter cut into small cubes.
Mix all the ingredients except the butter and keep aside. I recommend you do this while you roll out the pie dough so that, the ingredients are all mixed up and ready.
Pie crust:
2 1/2 cups all purpose flour
1 stick unsalted butter( very cold and cubed)
1 teaspoon salt
1 teaspoon sugar
8 tbsp cold water
Make the pie dough a few hours before you actually get to bake the pie. Here's how you do it,
Put all dry ingredients in a food processor and pulse till the butter is almost pea sized cubes. Remove the mixture in a mixing bowl. Add the cold water 1 tbsp at a time , and make a firm dough. Make two parts of the dough. Mix the dough and knead it till it is firm and refrigerate for at least 2-3 hours. When you remove the dough from the fridge it will be firm, microwave for 20 seconds and it will loosen up. Place the dough on a clean counter surface and knead it for 2-3 minutes and using a rolling pin start rolling. Roll the dough into a 12-inch circle, fold in quarters and transfer it to your pie plate ( 9-inch).
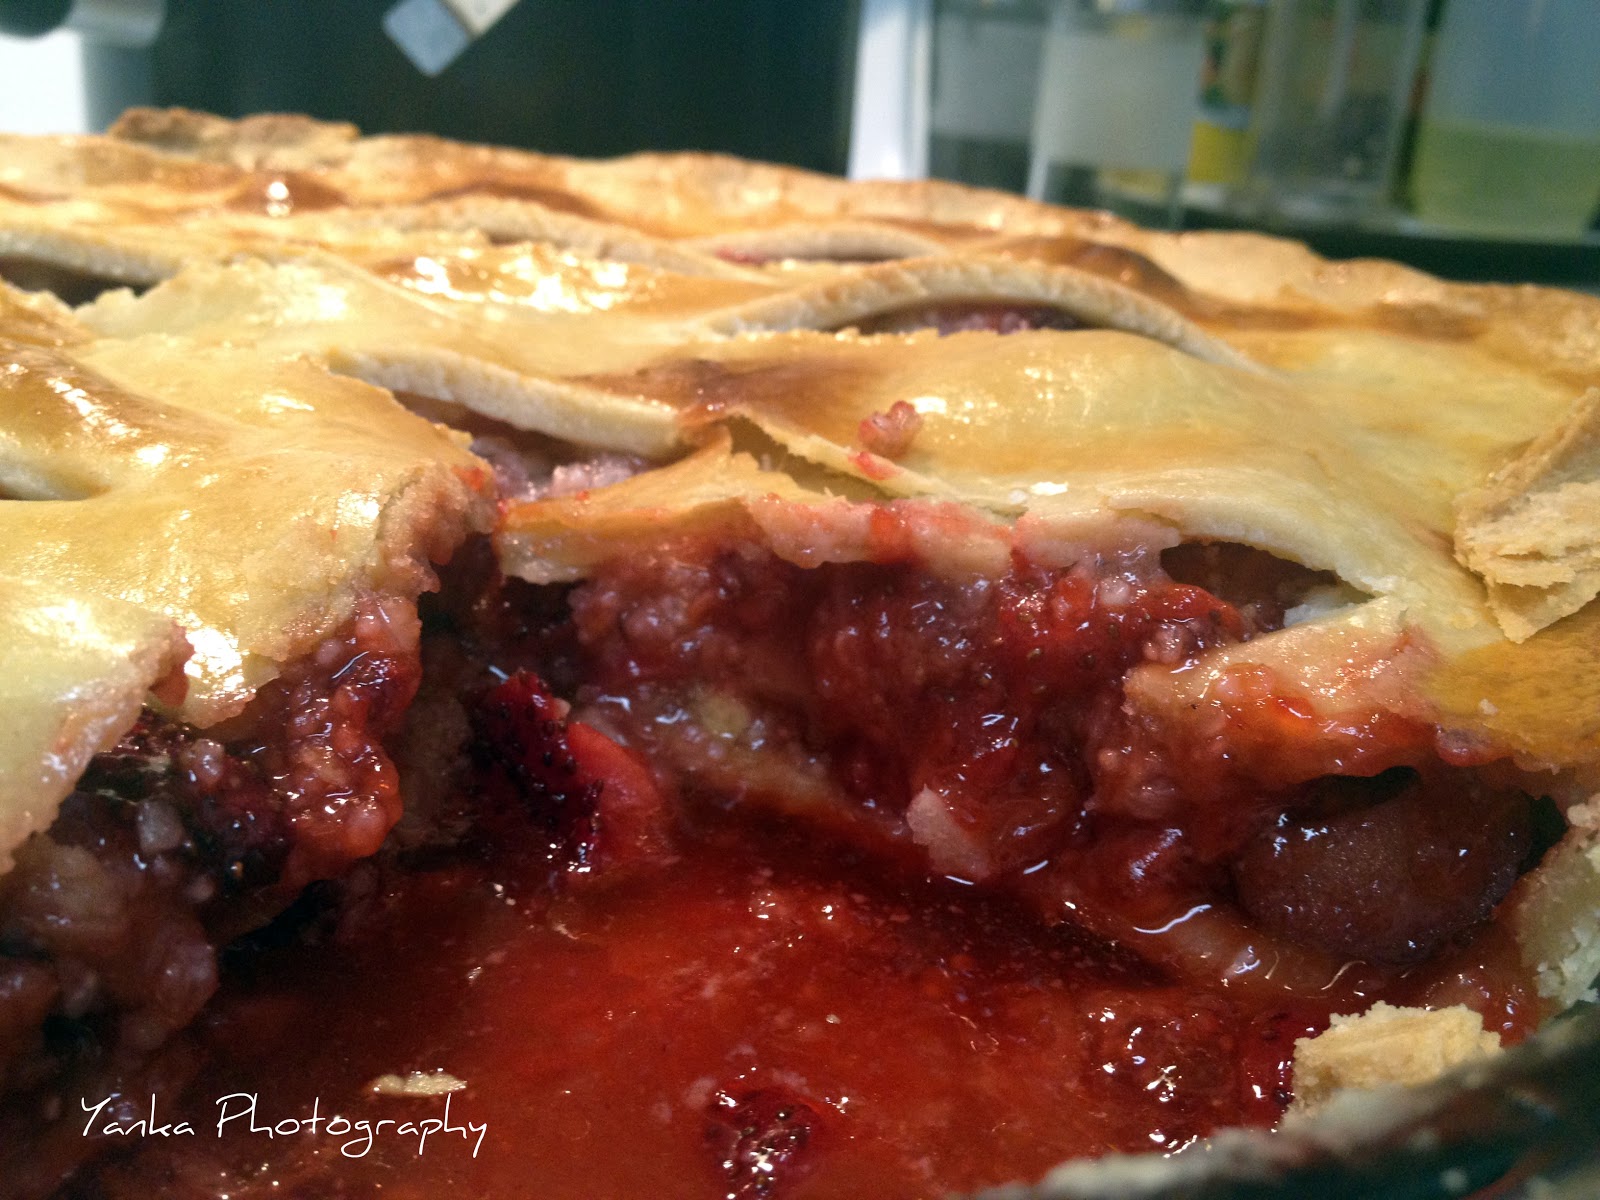
In the pie plate open up the quarters and make sure the pie dough sits evenly on the pie plate without forming any air bubbles underneath. Now, fill with the pie filling. Take the second pastry dough you have left aside roll out a second 11-inch circle, make decorative slits and place on top of the filling.
Make sure you have enough (not too much and not too less) pie dough to crimp and form a decorative pattern. Take a large egg yolk with a tablespoon of water and beat it really well. With a pastry brush brush egg yolk on top of the pie to give it a shiny effect.
Preheat your oven to 400 degrees Fahrenheit and bake for 20 mins, after that lower the temp to 350F and bake again for 20 mins.
The pie tastes best when eaten the next day :).. I loved this pie, though I am not a huge fan of pies. I hope you love it too !!